Deep Langstroth Instructions
Tools Needed:
– One Deep Langstroth plastic foundation frame (plastic foundation removed) – New frames are advised; used frames can be used but may require cleaning to fit.
Optional Items:
– Wax to apply to the top of the comb sections (highly suggested to encourage the bees to draw comb)
Assembly Notes:
– Using glue is not recommended unless The Comb Assistant fits very loosely inside the frame.
– We recommend orienting the labeled pieces so that the Honey Bee is facing the top of the frame and the letters face the outside of the frame. This does not affect function and is purely aesthetic.
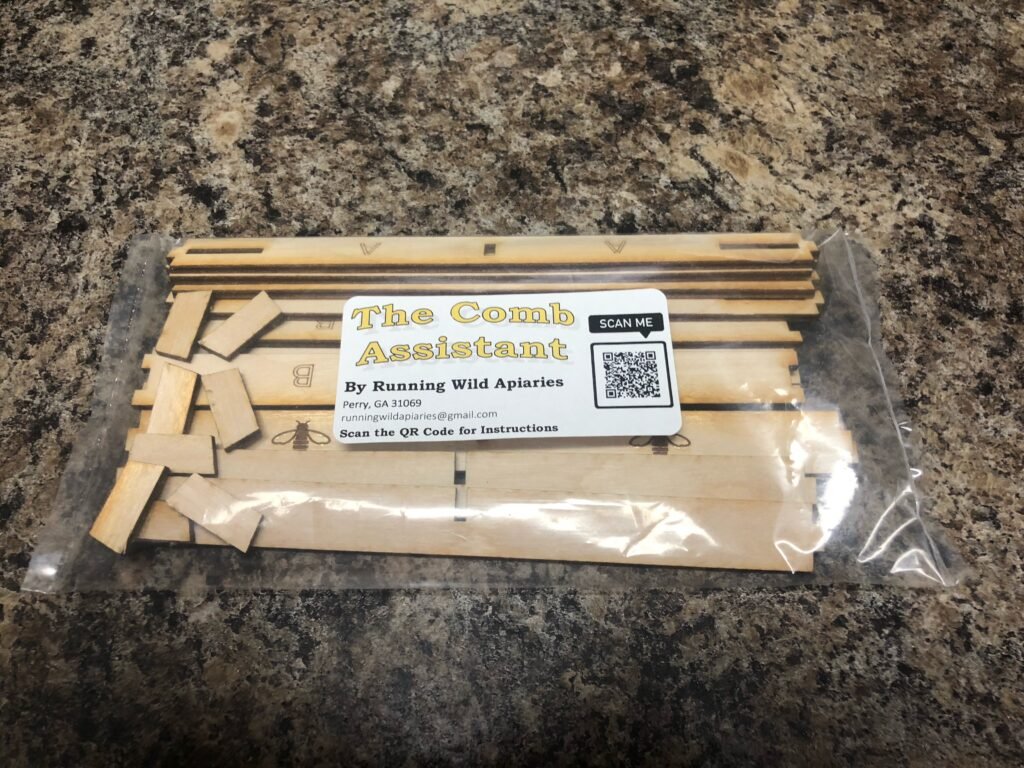
Kit Includes:
4 – “A” Pieces
4 – “B” Pieces
2 – Honey Bee Pieces
2 – Unlabeled Pieces
8 – Wedges
Assembly Instructions
Step 1: Separate the pieces into matching sets (A, B, Honey Bee, unlabeled and Wedges)
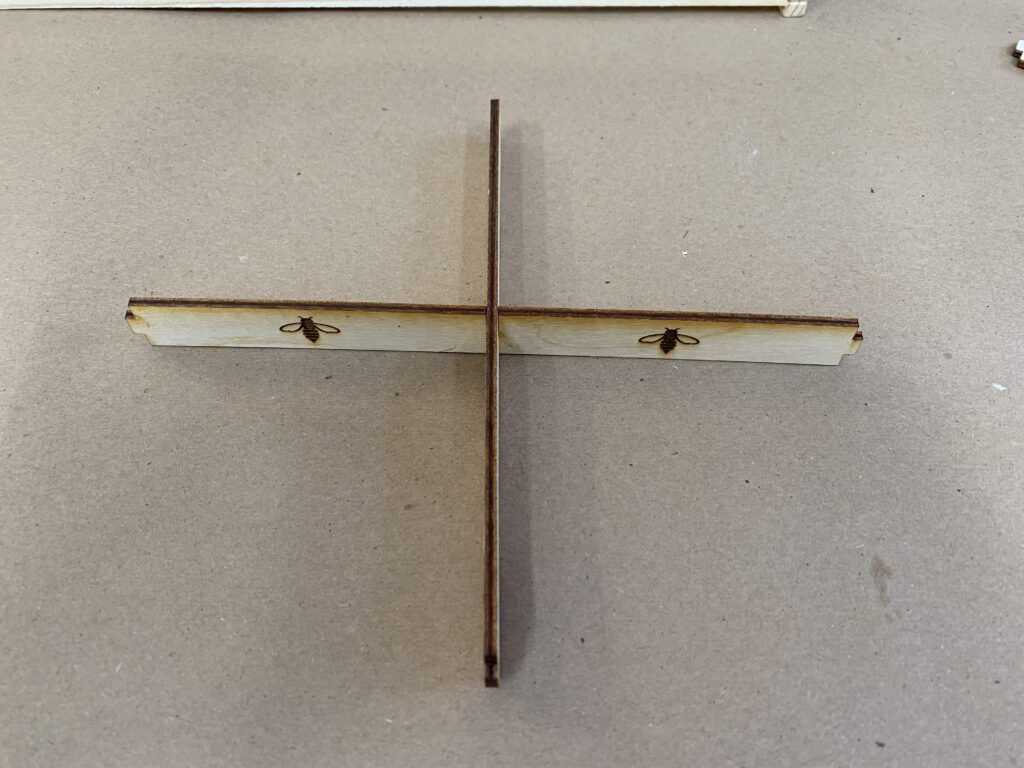
Step 2: Use a Honey Bee and unlabeled piece and interlock them together at the center (for reference the Honey Bee will be facing the top of the frame; the unlabeled piece will run from top to bottom inside the frame)
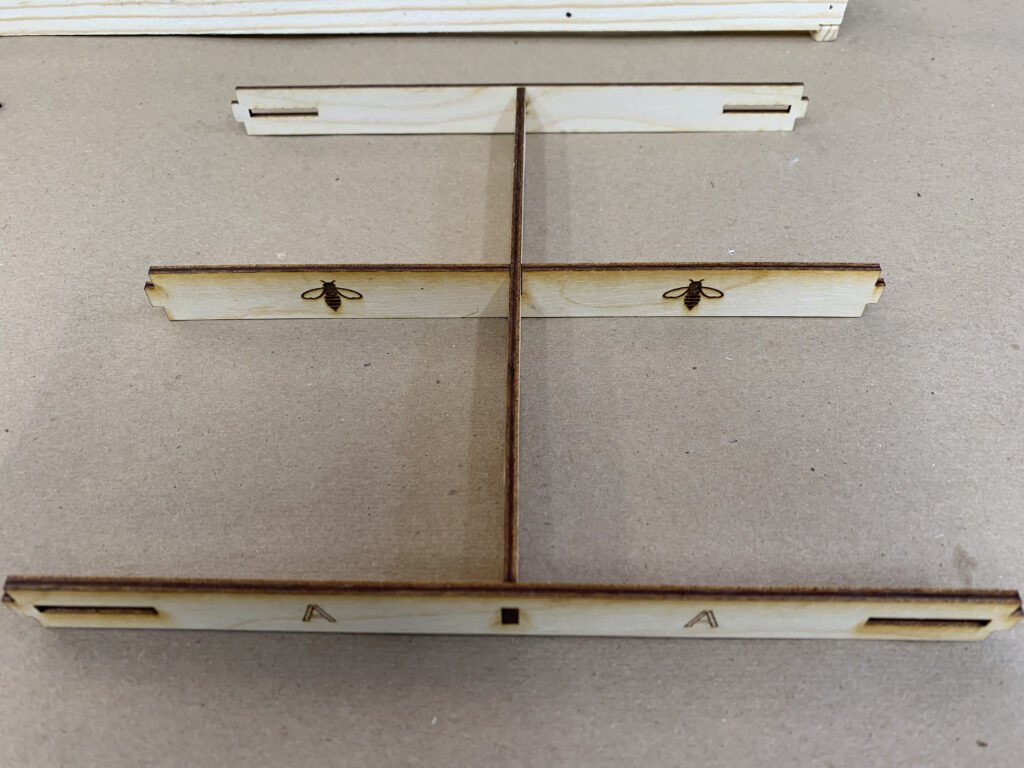
Step 3: Attach an “A” piece to the top of the unlabeled piece and another “A” to the bottom. Both should interlock with the center notch.
Step 4: Attach a “B” piece to each side. Be sure to interlock the all of the notches (this can be a little challenging).
Step 5: Repeat steps 2 through 4 to assemble the other half of The Comb Assistant
Step 6: Place both halves of The Comb Assistant next to each other so that two of the “B” pieces are touching each other.

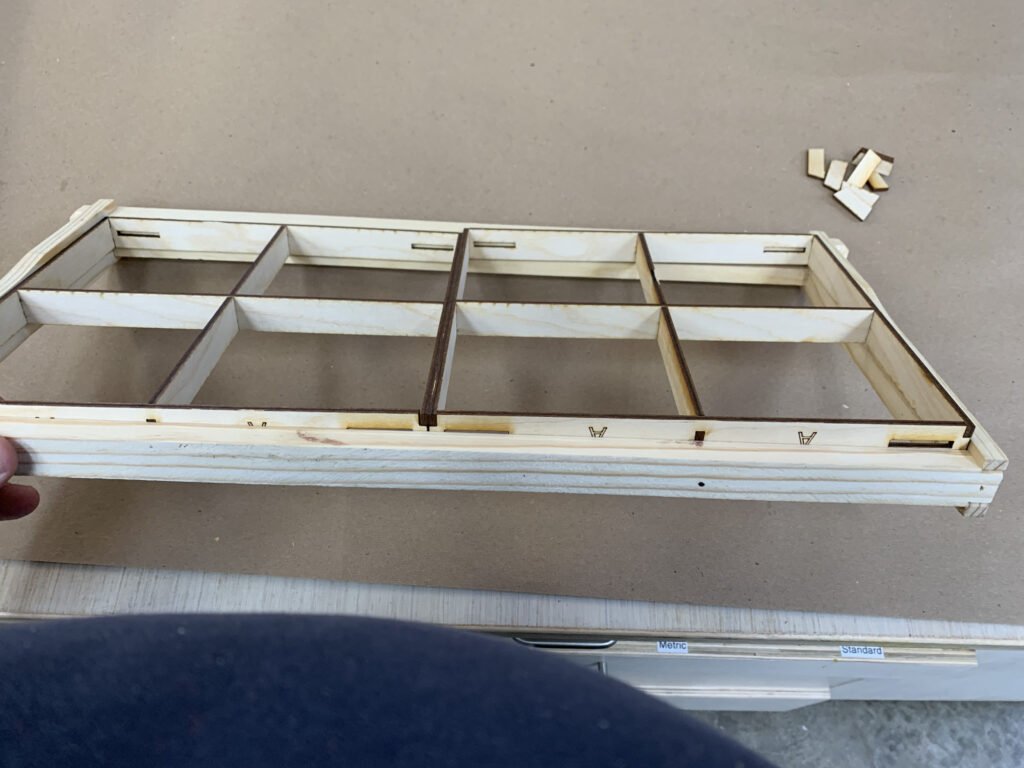
Step 7: Place the empty deep frame over the already assembled pieces. Gently push the frame onto The Comb Assistant.
Step 8: Continue to insert The Comb Assistant into the frame so that the slots at the top and bottom of the frame line up with the frame grooves.
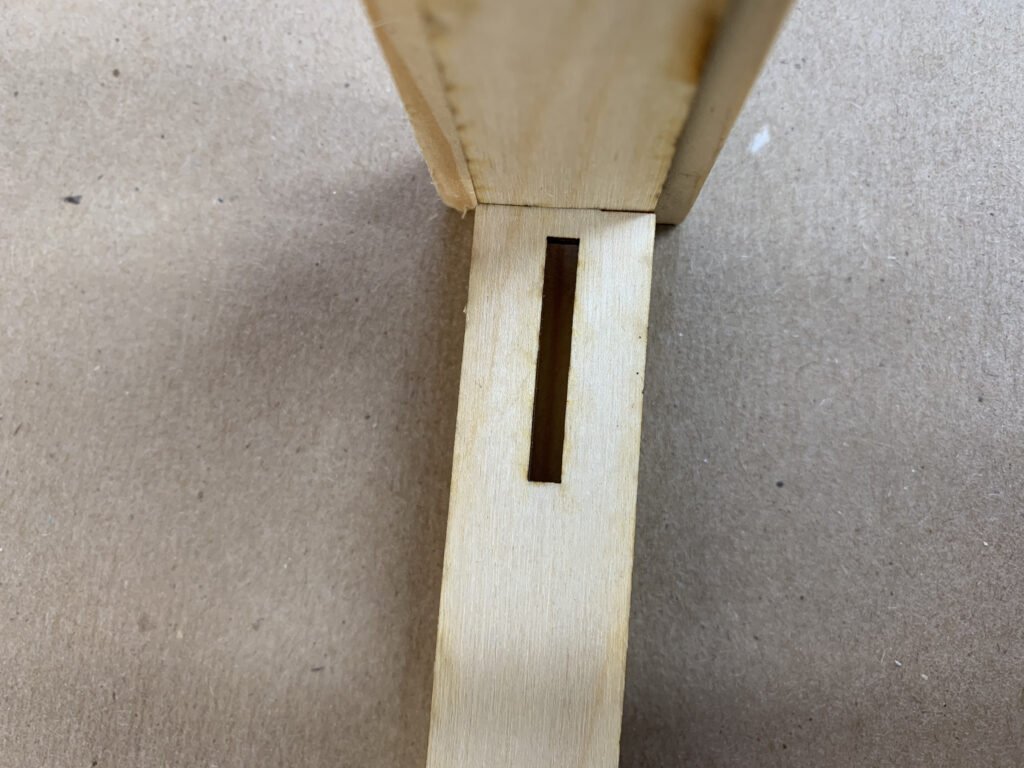
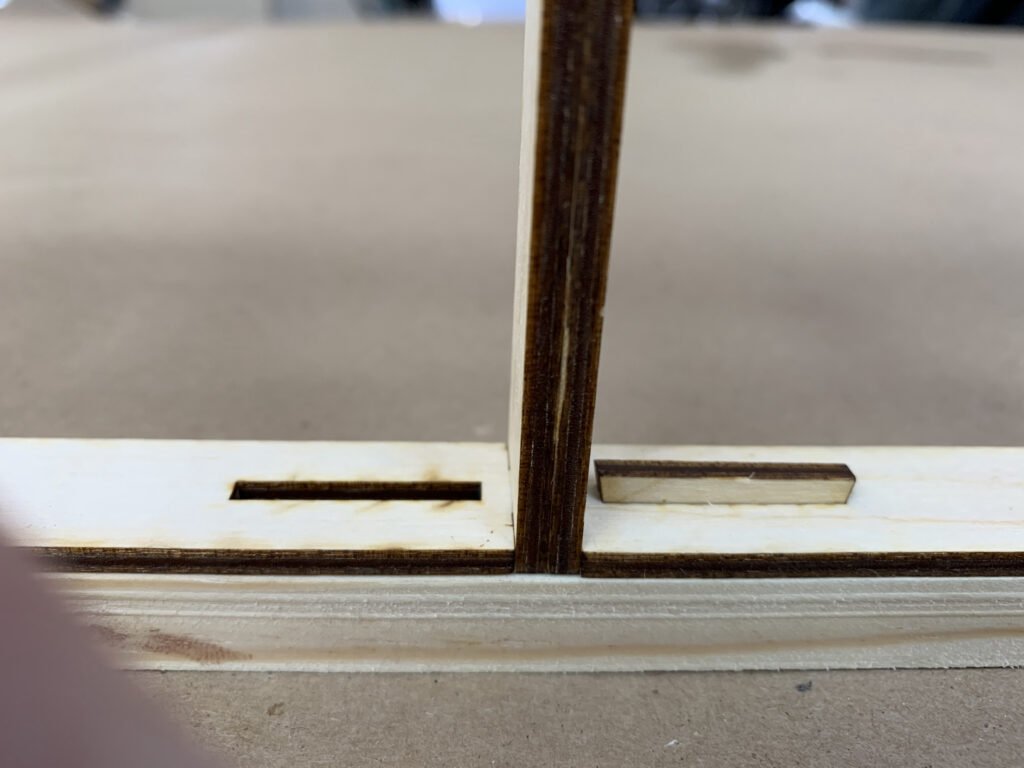
Step 9: Insert the 8 wedges into the eight slots. Be sure that they seat fully. (There should only be approximately 1/8″ of the wedge exposed.)
Step 10: (Optional) Wax the top of each section to encourage your bees to draw comb.
